BEST Chocolate Chunk Cookies
This website uses affiliate links which may earn commission at no extra cost you.
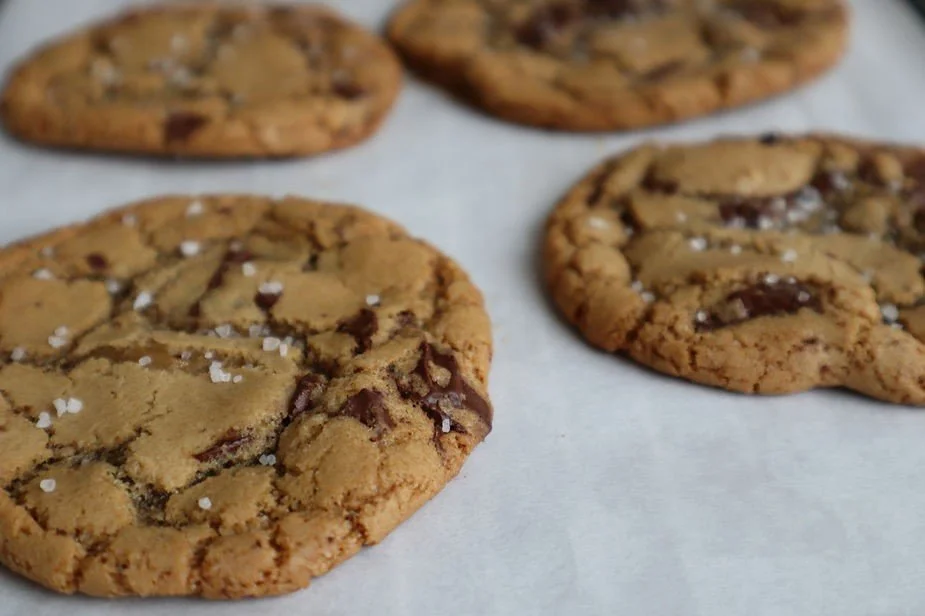
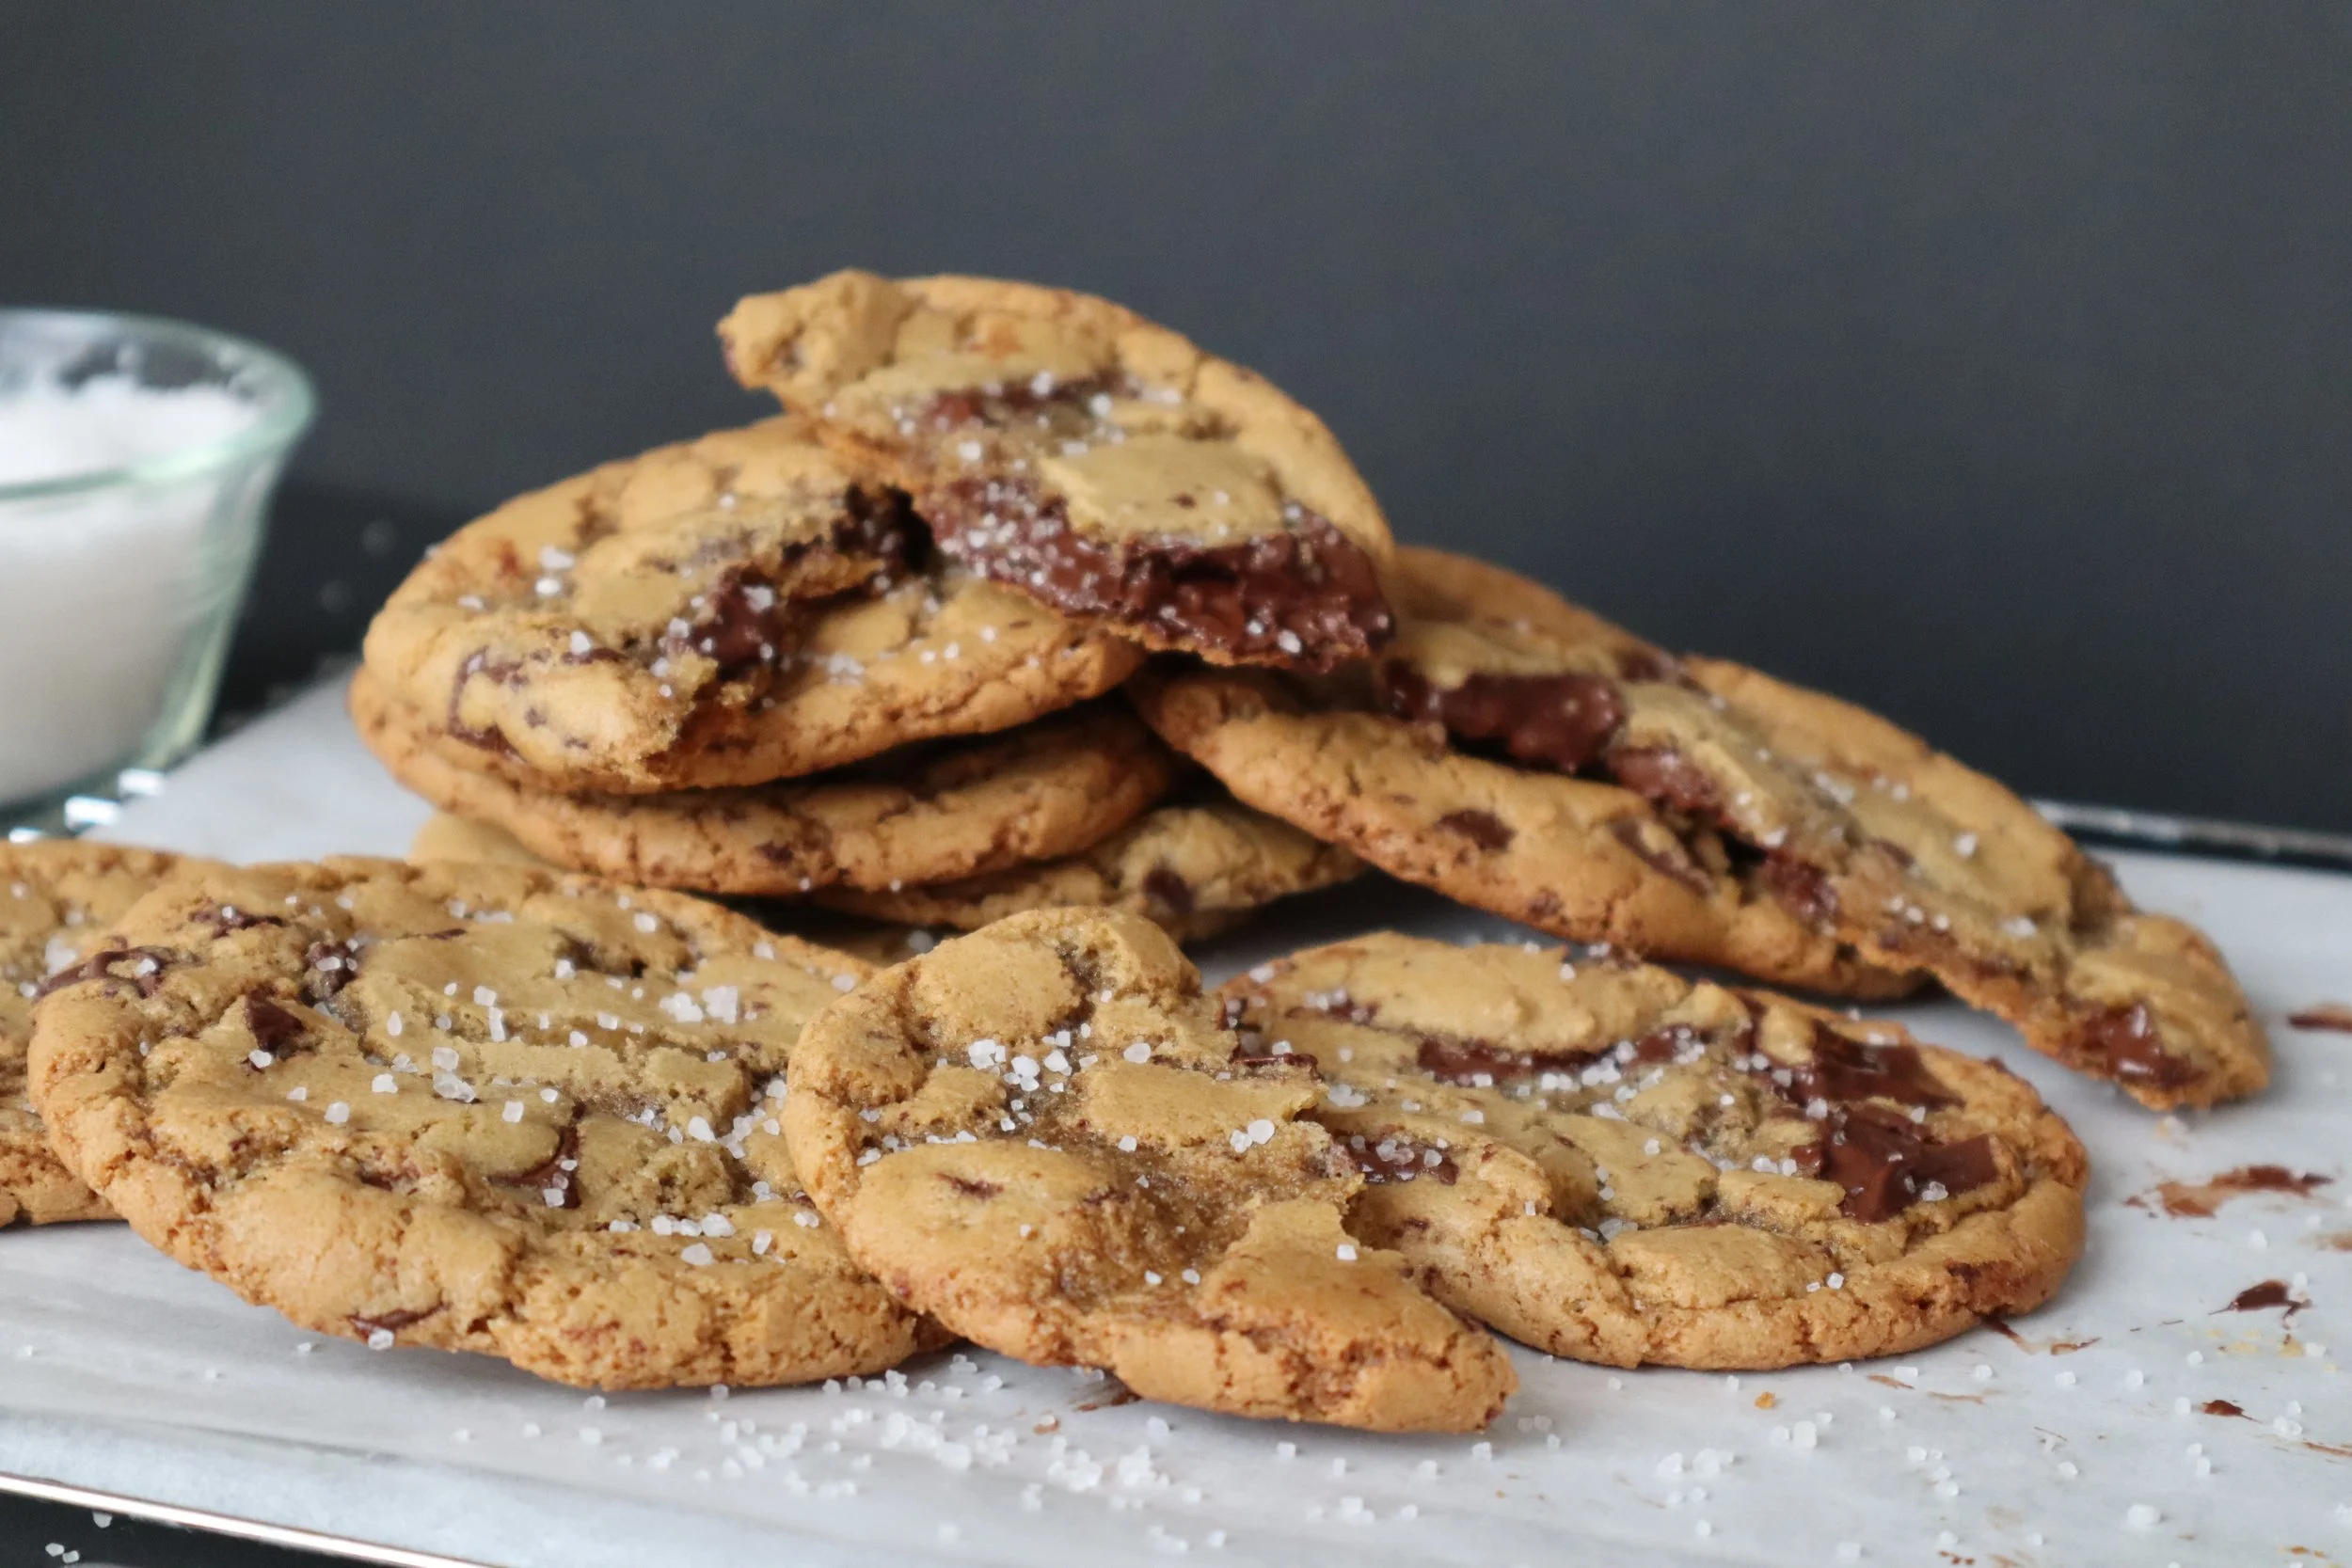
Alrighty, I know I may be coming off pretty strong with the talk of this recipe being the best for a chocolate chunk cookie… but I have a good reason to believe this. These cookies are super crunchy and crisp on the outside, but super soft and gooey on the inside. This recipe also makes the cookies look so good when it comes to the shining melted chocolate chunks. Looking for more?? Pair this treat with a nice warm cup of milk, you’ll have every flavor you could ever dream of. Want to take it up another notch? Eat these warm cookies with a scoop of vanilla ice cream and you will never go back.
This recipe includes brown butter, which brings a deeper complexity to the flavor of the end product. This recipe also includes dark brown sugar, which I prefer over regular brown sugar. I honestly think that it will be hard for me to improve upon this recipe as I believe these cookies are the best they will ever be!
My family made quick work of these cookies, and before I knew it, they were gone. In the end, that’s definitely a good thing… but I wish I had more for myself! I guess that just goes to show that this recipe is staying around!
Let’s make some insanely good chocolate chunk cookies together!
The Best Ingredients for the Best Cookie
I recommend not skimping out on your ingredients! The better the quality and origin, you know that the cookie quality will be just as good! Eggs, for example, I recommend buying and supporting locals with farm fresh eggs. Not only do you get high quality ingredients when you support and shop local, you also feel good knowing you’re supporting local small businesses!
Now for your chocolate, it’s best not to skimp out on that either! I recommend using Ghirardelli chocolate bars or chips, whichever you prefer. Now I do know that Ghirardelli chocolate is far more expensive than other alternatives, so if it doesn’t fit into your budget or you don’t feel the need for Ghirardelli chocolate, use a different brand and the cookie will taste just fine!

Why Brown Butter?
I think brown butter is completely essential. Of course, if you don't have the time, you can skip browning your butter, although I wouldn’t recommend it. Here's why:
Browning butter adds a sort of flavor complexity to recipes that is hard to describe in words... you just need to try it for yourself!
Browning butter increases flavor notes bringing out all sorts of different flavors that might be harder to notice or taste if you hadn't browned your butter!
Lastly, I think it's fun! Of course, it's an extra step in the baking process, sure. But the benefits definitely outweigh the cons.
Two MAJOR Don'ts WHen Baking Cookies
I can't stress this enough... DON'T overmix! Overmixing creates a tough dough which will create sad cookies. Not to mention, overmixing also makes the dough super dry! So, try to be thoughtful and don't overmix!
Don't overbake! If you overbake by just a minute or two the cookies will get super tough and hard when they cool. They won't be ooey gooey, which is what I hope you're aiming for! Again, be thoughtful and watch your cookies! It never hurts to keep an eye on your cookies when they’re reaching the end of their bake time. What I would recommend doing is to keep an eye on your cookies and check them when there is a couple of minutes left in their bake time. This ensures that you are cooking your cookies perfectly and they don’t come out under or over baked!
What are the Best Storing Options for Cookies?
Well, I’m going to give it to you straight, these cookies aren't the best for lasting a long time. These cookies are definitely best served and eaten freshly baked. Although you can definitely keep them in a tupperware container for 3 days with no concern, although they will start tasting a bit stale after the second full day (to be expected).
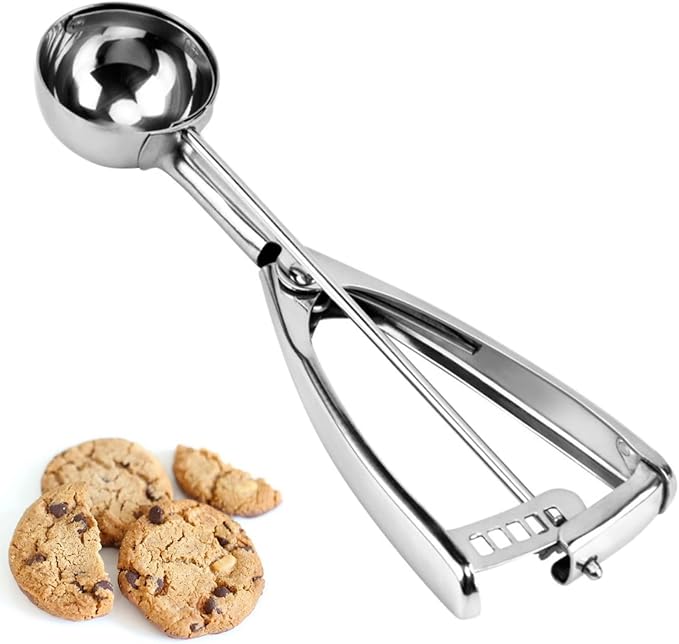
If you're looking to prepare cookies for an event in a couple of days, you can still totally use this recipe. What I'd recommend doing is making the dough, following the instructions as normal. Although instead of baking right away, after you use a cookie scooper to shape your cookies into balls, I would freeze them in the freezer in a freezer bag or in a tupperware container. This will make baking the cookies the day of your event super easy. All you would have to do is take the cookie balls out of the freezer about 30 minutes before you intend to put them in the oven. Once they've had some time in a room temperature environment, they're ready to bake as normal! Not to mention, when you bake these for an event, you’re less likely to have to worry about leftovers and storing options.
RECIPE TIPS
Make these before an event or party. Freeze the cookie dough balls in the freezer and bake before your event!
Store in a tupperware container. These cookies don’t last for a very long time to begin with but putting them in a tupperware container can help extend the time you can keep them for.
Don’t skip browning your butter. In my opinion, this is an essential step for this recipe and shouldn’t be skipped. If you choose not to brown your butter, that’s okay, they will still turn out amazing!
Recipe Variations
Replace the chocolate bars with M&Ms. I find it fun to switch up the chocolate bars for M&Ms as it gives a different flavor and it gives the cookies different colors! You can also add some in and keep the chocolate bars in, up to you to customize!
Don’t brown your butter. Although I recommend browning your butter, it’s not necessary for this recipe!
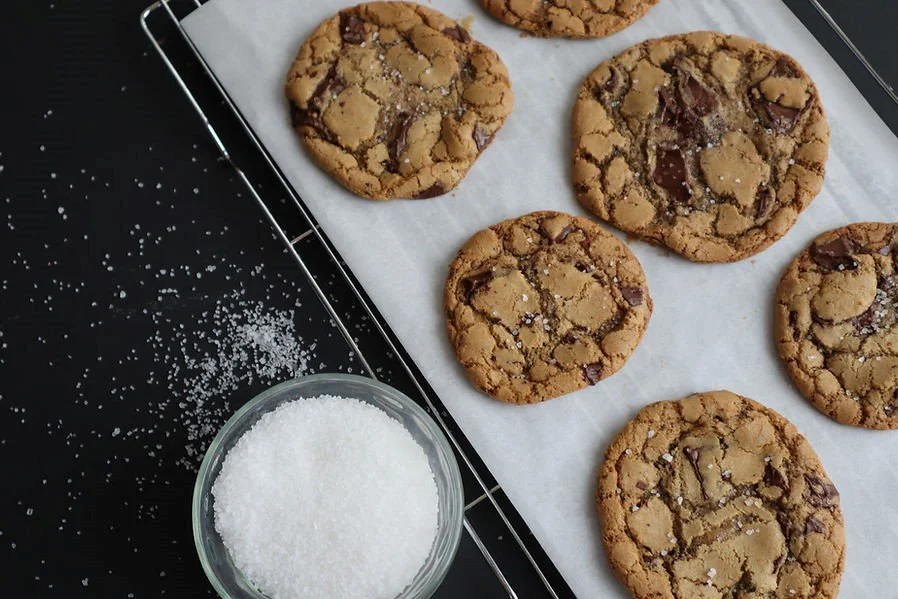
Top the finished cookies with sea salt. Not everyone likes their chocolate chunk cookies topped with a little bit of sea salt, so you can opt out of adding sea salt on top or you can only do it to half of the batch of cookies!


Best Chocolate Chunk Cookies
These chocolate chunk cookie is made with brown butter, dark brown sugar, and massive chocolate chunks that make for a soft, chewy, and chocolatey cookie!
Ingredients
- 3/4 cup unsalted butter*
- 1 cup dark brown sugar, packed
- 1/4 cup granulated sugar
- 1 egg + 1 egg yolk, room temperature
- 1 tablespoon pure vanilla extract
- 1 3/4 cup all-purpose flour
- 3/4 teaspoon baking soda
- 3/4 teaspoon kosher salt
- 2 semi-sweet chocolate bars, chopped
- + sea salt for toppings
Instructions
- In a medium saucepan add unsalted butter and heat on low heat. Mix often ensuring that the butter is melted at even heat. Once the butter is completely melts, constantly whisk until the butter started to turn a light brown color. Brown butter can go from brown to burnt really fast, so once you get a light brown color and it emits a nutty smell, take off of the heat and cool.
- Once the butter is cool - in a medium bowl combine the butter, dark brown sugar, and granulated sugar. Whisk/mix until combined and well incorporated.
- Add egg yolk, egg, and vanilla and mix until well combined.
- In a separate bowl, combine flour, baking soda, and salt.
- Add half of your dry bowl into your wet bowl. Mix until dry ingredients are combined. Slowly combine the rest of the dry ingredients to your wet until combined. *Stop adding dry ingredients if your dough gets too dry. Set dough aside.
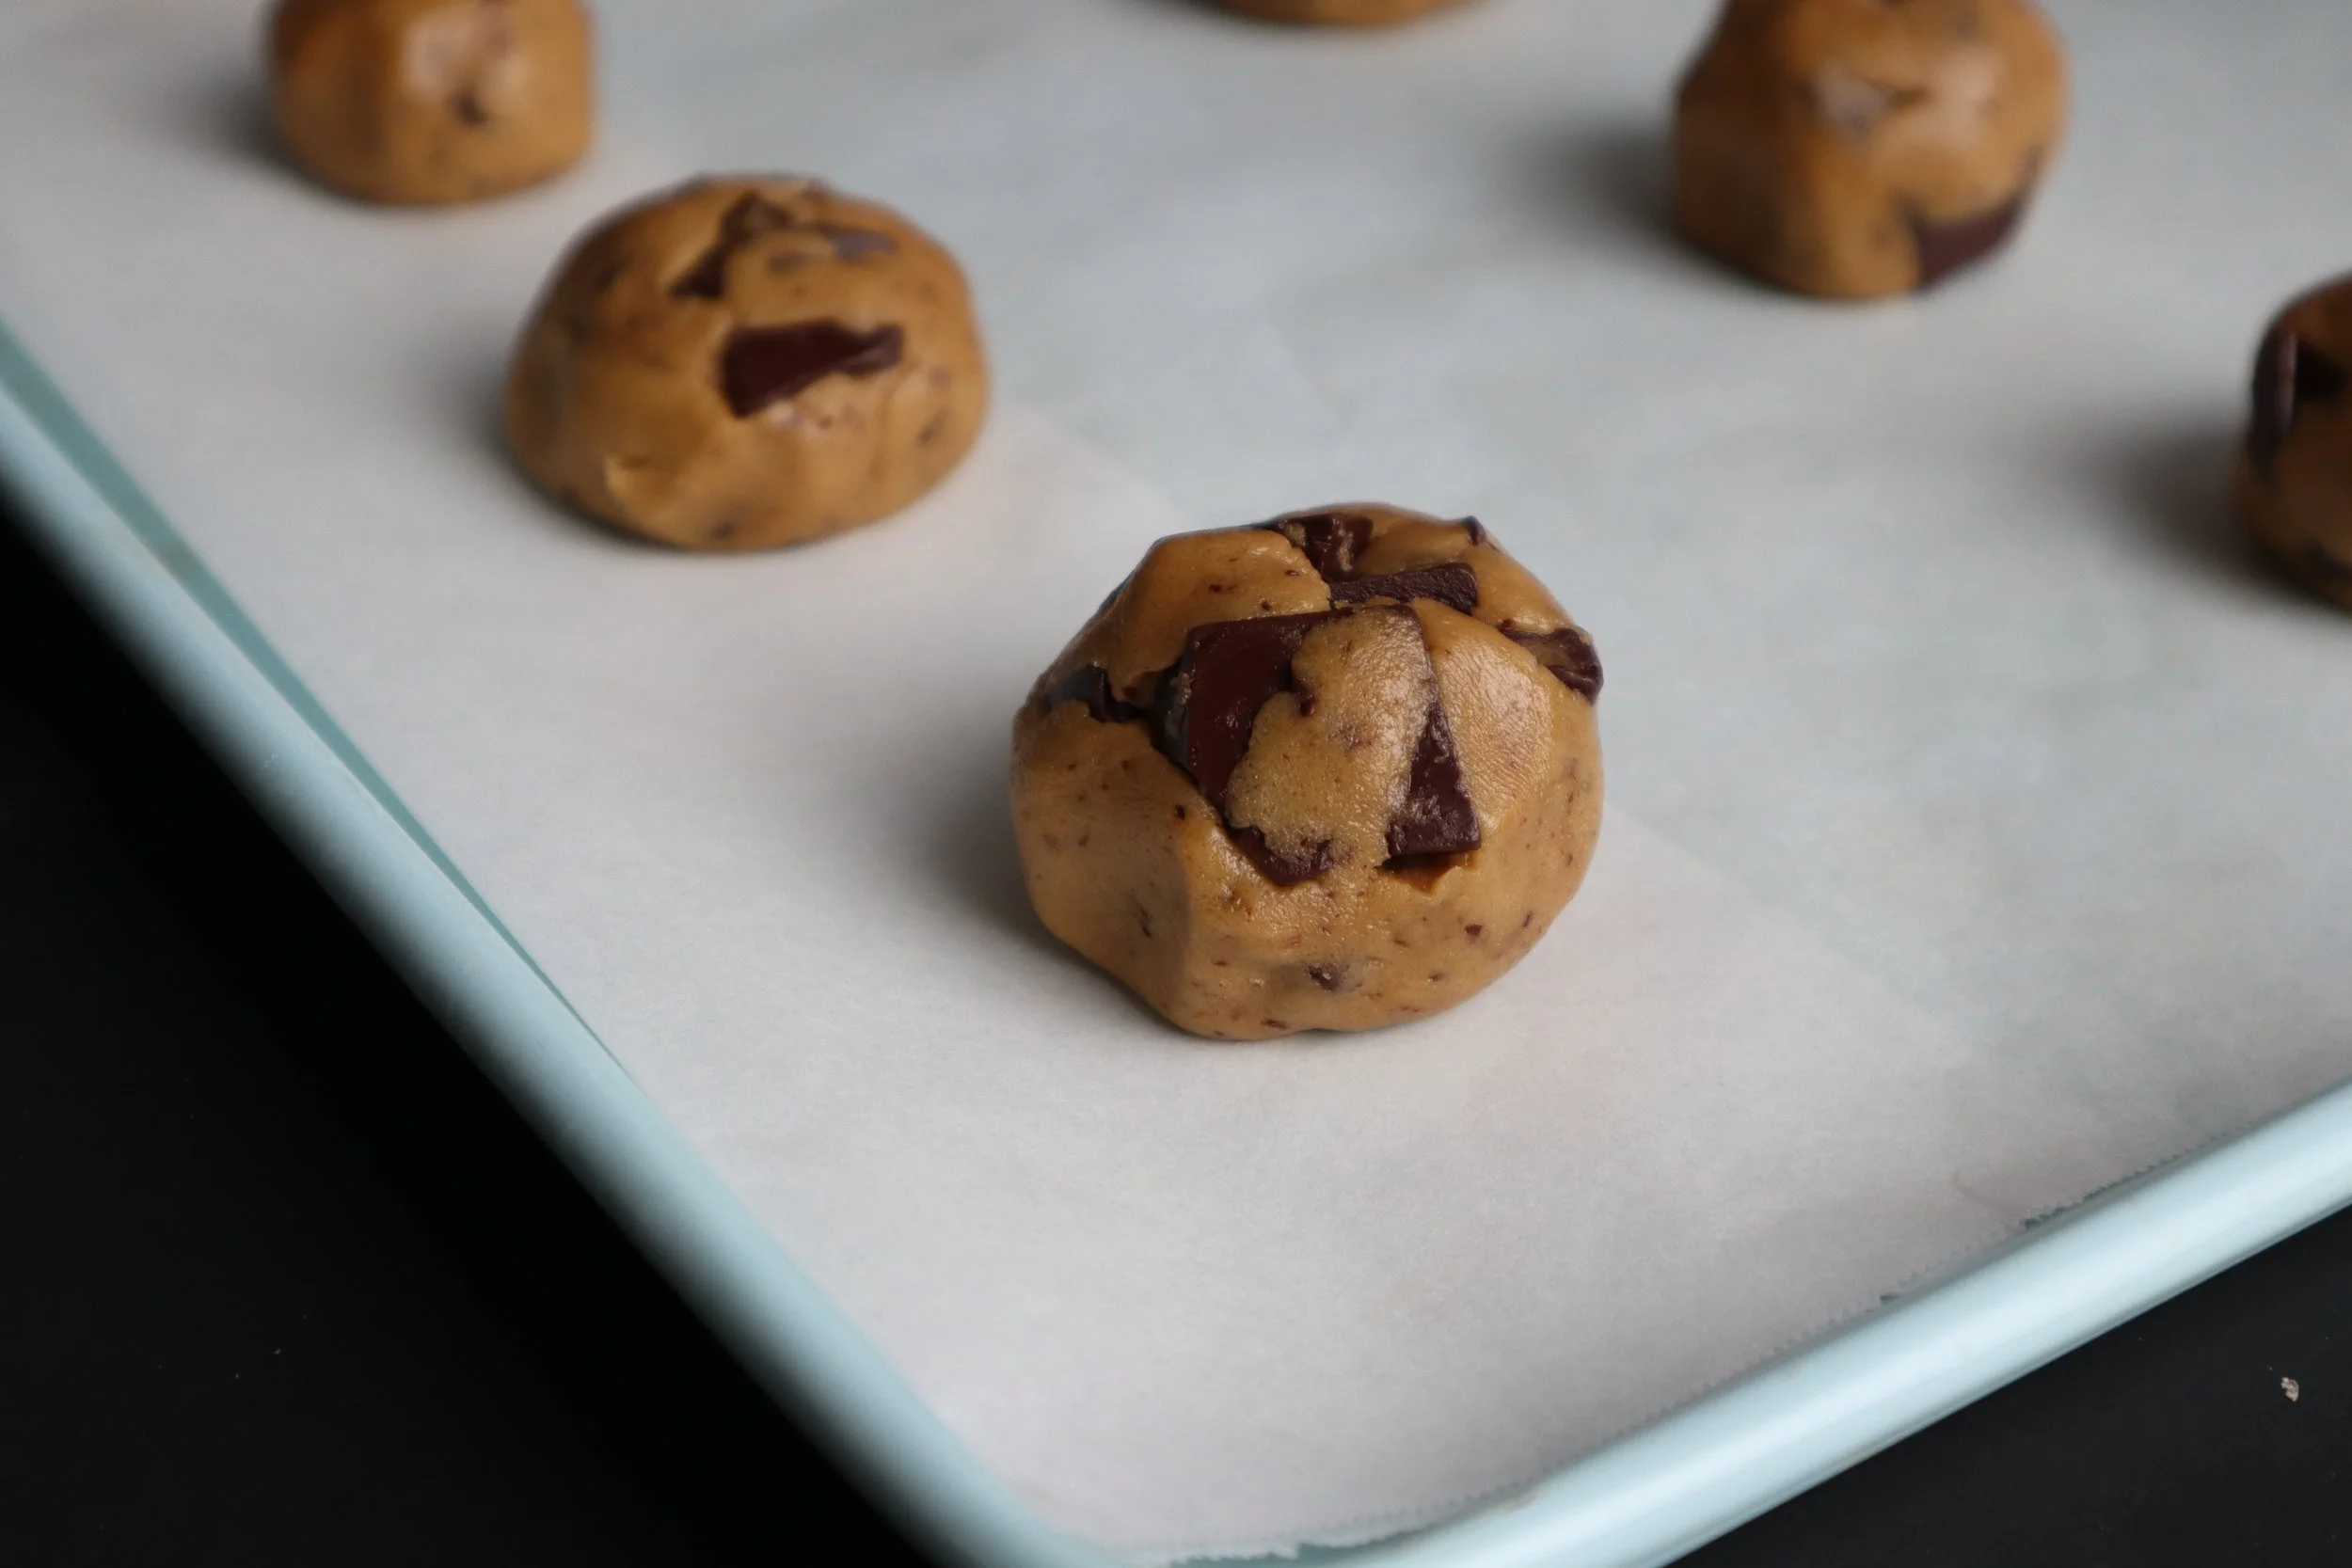
- On a large cutting board rough chop two bars of semi-sweet chocolate. The chunks of chocolate should be big, but not too big where they won't fit into your cookie scoop.
- Fold your rough chopped chocolate into your dough with a rubber spatula.
- Refrigerate for 30 minutes to an hour, or overnight.
- Preheat your oven to 350°
- Bake on a sheet pan lined with parchment paper for 10-12 minutes.
- Let cool before eating and enjoy!